Oil Spills: Threats to Health, Environment, and Home Value – Act Fast!
Oil spills can occur in various ways, whether it's a small leak from a vehicle parked in the driveway or a larger incident involving machinery or storage containers. These spills pose significant dangers and risks to both our health and the environment.
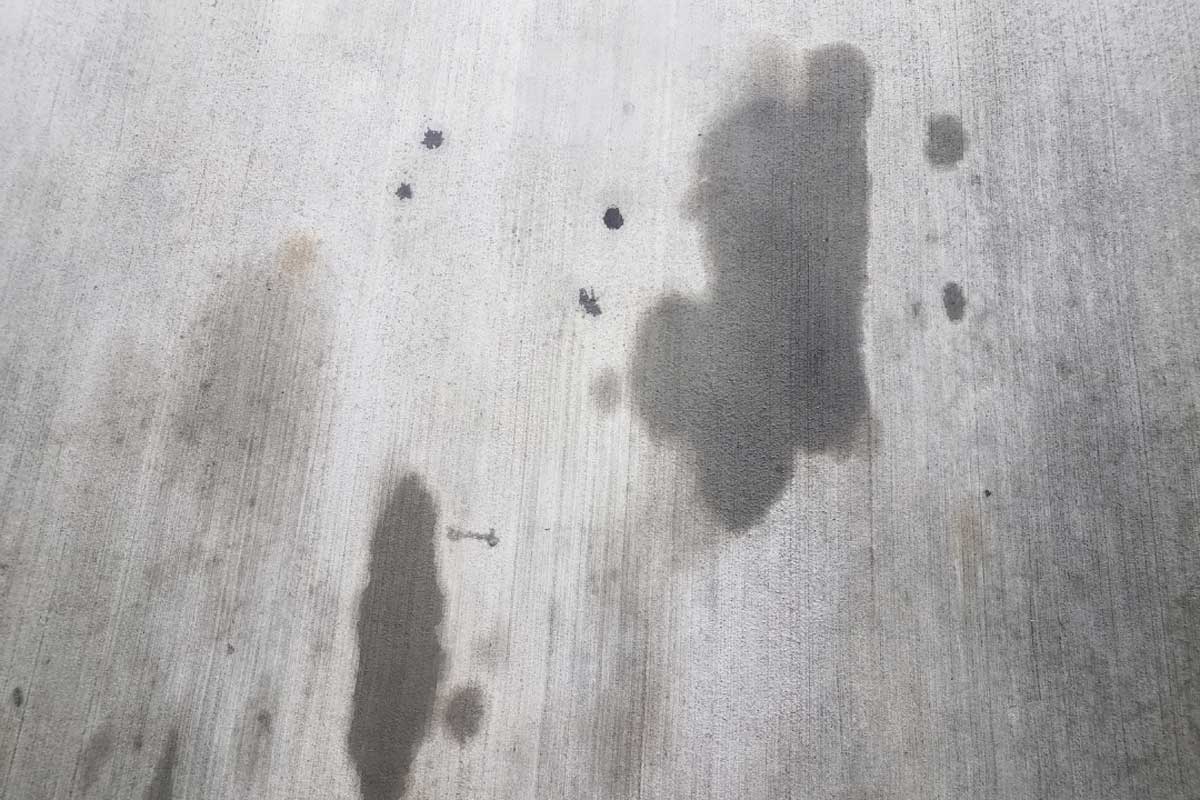
Not only can they contaminate the soil and nearby water sources, but the presence of oil stains can also detract from the overall value and aesthetics of our homes. These unsightly stains give off an impression of neglect and can be a major turn-off for potential buyers or guests.
Moreover, the longer an oil spill remains untreated, the more difficult it becomes to remove, making it crucial to address these spills promptly with effective oil stain removers to protect our homes and safeguard their value.

Understanding the Challenge of Concrete and Removing Oil Stains
Concrete is a unique material with its own quirks when it comes to accepting and releasing stains. Factors like density, finish, and the use of densifiers can affect how deeply the oil penetrates and whether it becomes a permanent eyesore. But don't worry, we've got a secret weapon to tackle these tough stains: the amazing CHOMP Pull It Out Concrete Oil Stain Remover. It's a game-changer!

Step-by-Step Guide to Removing Oil Stains
- Test First: Start by removing any surface dirt and debris. Then, grab your CHOMP Pull It Out and shake it well. Before going all-in, pour a quarter-sized amount on a small test area to make sure it works its magic.
- Let it Dry: Give the product some time to dry completely, usually a couple of hours depending on the temperature and humidity. When it's dry, you'll notice it turning into a chalky white substance.
- Scrub Away: Now it's time to get your hands dirty (not literally!). Take a stiff brush and give the dried area a good scrubbing to loosen up the oil stain.
- Expand the Process: If the test area looks spotless after your scrubbing efforts, it's time to go big! Take the CHOMP Pull It Out and apply it to the entire oil-stained area using the same steps as before.
Dealing with Stubborn or Penetrated Stains
Sometimes, those oil stains are really stubborn, like they've taken up permanent residence in your concrete. But we won't let them win! Here's what you can do:
- Pre-treatment: If the stain hasn't fully lifted after the initial treatment, it's time for some extra action. Apply a bit of lacquer thinner or mineral spirits to a small test area on the stain. Then, grab your trusty stiff brush and give it a good scrub.
- Bring in CHOMP Pull It Out: After pre-treating the area, apply CHOMP Pull It Out just like before. Shake it well, pour it on, let it dry, and scrub away. This time, you'll see those stubborn stains giving up the fight.

How to Remove Oil Stains from Concrete? Remember to Do It Safely!
Parents, I know how important it is to have a clean and safe home for our little ones. With these simple steps and the help of CHOMP Pull It Out Concrete Oil Stain Remover, you can easily remove those pesky oil stains from your concrete surfaces. No more fretting over messy floors or driveways!
Just remember to test the product, remove surface debris, follow the steps, and tackle stubborn stains with a little pre-treatment. Get ready to reclaim the beauty of your concrete and enjoy a cleaner, oil-stain-free home. You've got this!